How to Register on Flipkart Seller Account?-A Complete Guide
The Indian e-commerce industry is growing rapidly. Following a surge in digital adoption during COVID-19, the Indian e-commerce market is expected to be worth more than $55 billion in GMV by 2021.The Indian Online E-Commerce business has transformed the way people do business in India. With over 560 million users, India is the world’s second largest online market. With a compound annual growth rate (CAGR) of 57%, the Indian E-commerce market is expected to reach US$ 88 billion in 2025. As a result many businessmen want to register on Flipkart seller account and participate in ecommerce business.
About Flipkart
Flipkart Private Limited was founded in 2007 as an Indian e-commerce company. Flipkart is an Indian e-commerce company. It began with an emphasis on online book sales and quickly expanded to include lifestyle products, electronic goods, home equipment, and groceries. Today, Flipkart is the largest online Indian marketplace, competing with Amazon on a global scale. Flipkart was the first e-commerce company to provide Cash on Delivery services to users who were leery to pay online. Seller are actively register on Flipkart seller account. They start register on Flipkart seller account
Before Register on Flipkart seller Account Aware of Fee Structure
Before taking further steps to register on Flipkart seller account, it is important to understand the fee structure set by Flipkart. The structure is as follow:
Commission Fee: To be register on Flipkart seller account, you have to bear minimal charges on the name of commission. It is calculated by the product category and sub category.
Shipping Fee: Shipping fee is dependent upon the weight of the product and the delivery location of the product. It is calculated on the actual weight or volumetric weight whichever is more.
Acquisition Fee: For all prepaid and postpaid orders that you get, a minimal payment collection fee is applied to you. The collection fee will change according to the customer’s preferred payment method (Prepaid/Postpaid). Based on the payment gateway for prepaid orders; based on cash collection fees for postpaid orders. The ultimate selling price of a product will be used to determine the collection charge. The total amount paid by the customer for the product plus any applicable shipping costs equals the ultimate selling price. No of the category or tier, this will continue to apply to all merchants. To register on Flipkart seller account you have to bear this fee.
Fixed Fee: Each successful sale transaction is subject to a small cost known as a fixed fee. A successful selling transaction is one in which the customer has received their order. Any client returns are subject to this charge. There is no fee imposed in the event of a courier return. Additionally, regardless of the category or seller tier, this fee changes according to the order item value. You have to bear all these fees if you want to register on Flipkart seller account.
Steps to Register on Flipkart Seller Account
Step:1- Go to seller.flipkart.com or click here https://seller.flipkart.com/sell-online/
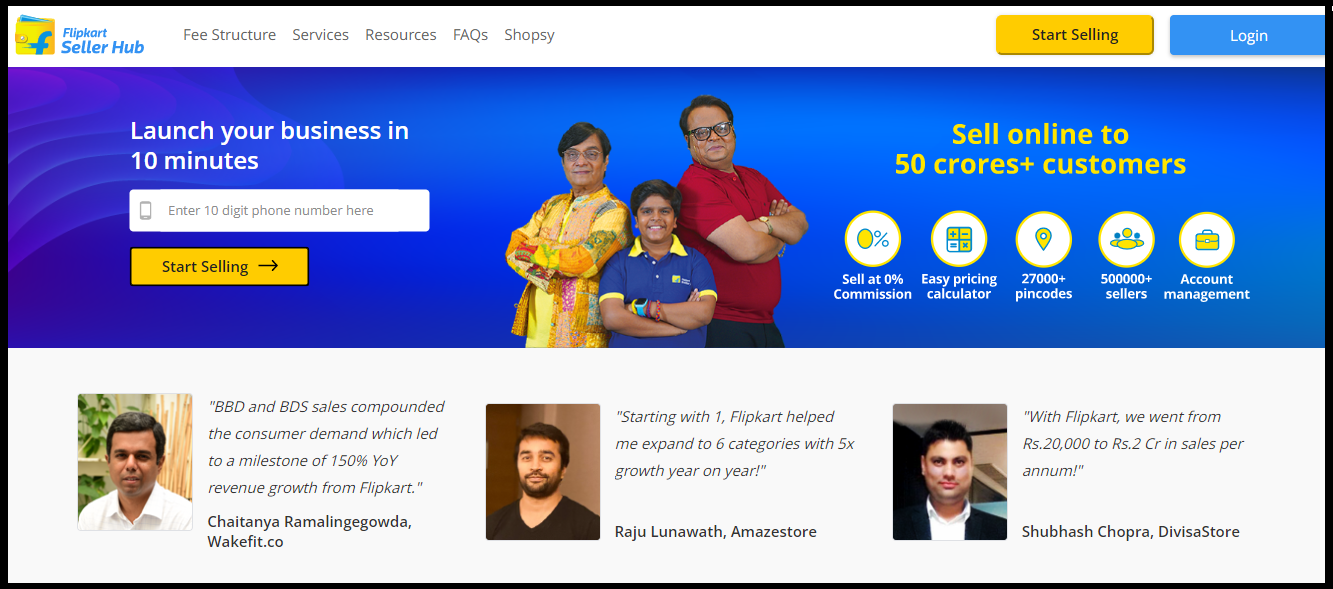
Step :2-Click on start selling
To register on Flipkart seller account click on start selling.
Step :3 Enter Your Details to Register on Flipkart Seller Account
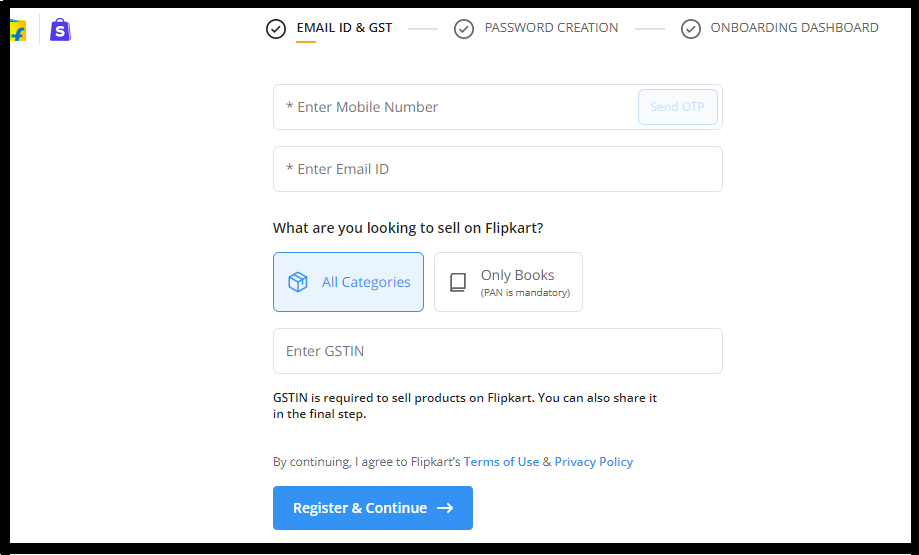
Next step to register on Flipkart seller account, enter phone no or email like details. It will ask for GST No or Pan No.
You only need a PAN number if you’re selling books, but if you’re selling other products, you’ll need GST.
After Entering all these details click on register and continue.
Step :4 Verify Your Email
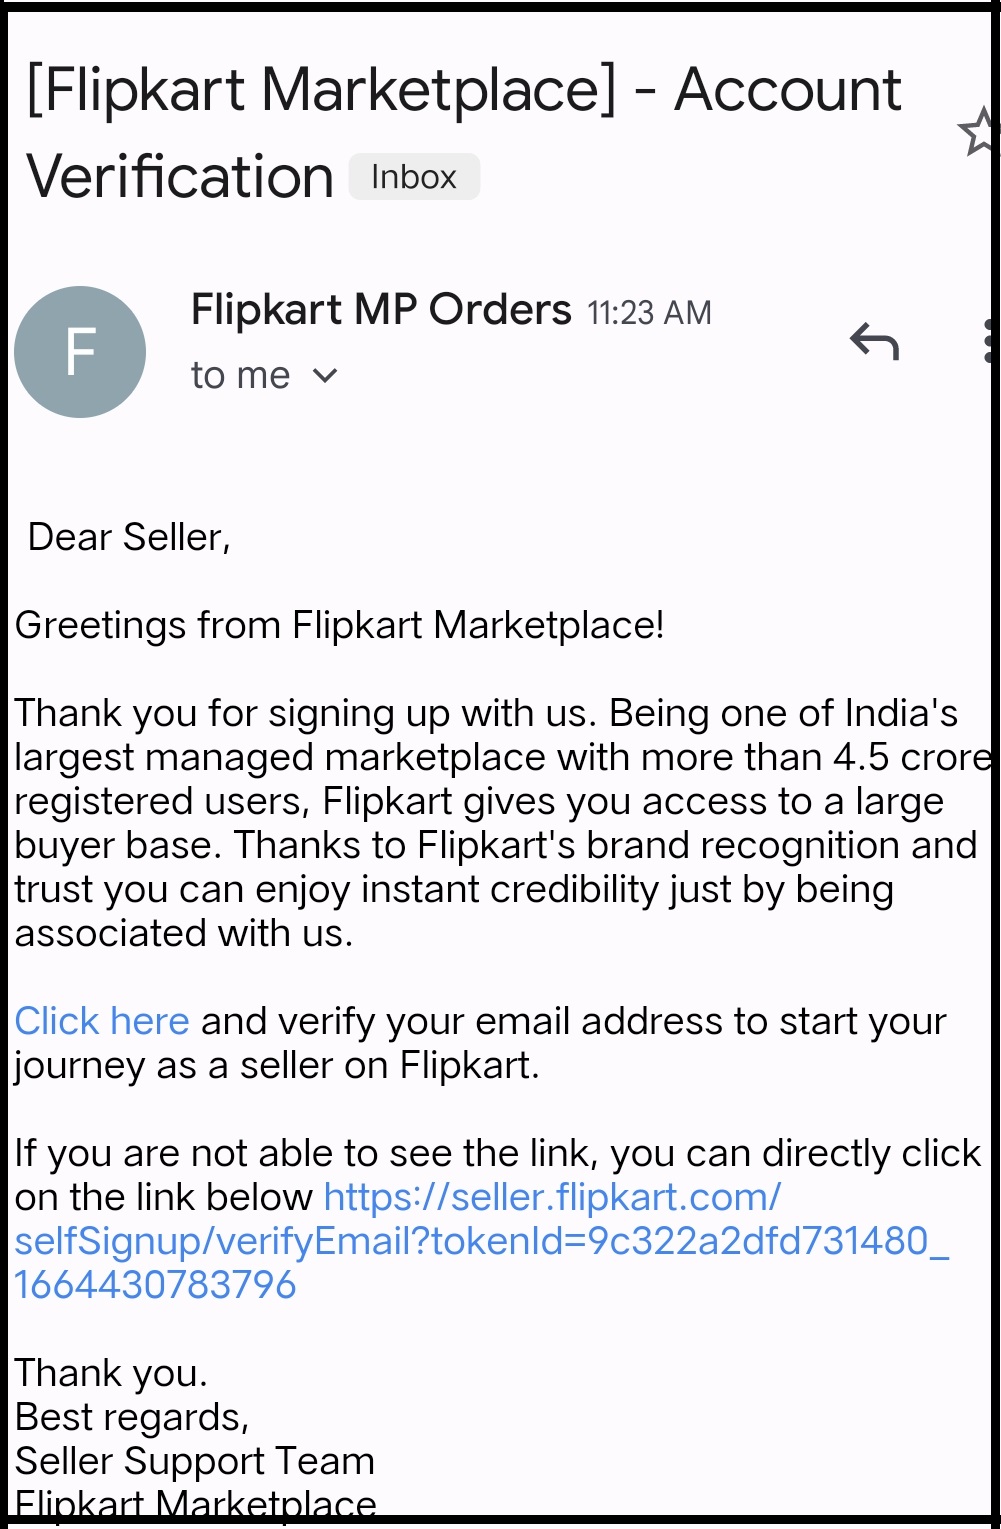
Flipkart has sent you a verification mail. Open the mail and click on the link to verify mail.
Step:5 Enter Your Name and Display name
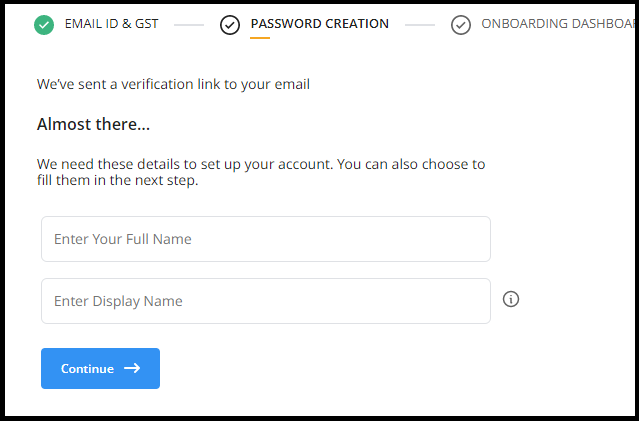
To register on Flipkart seller account, now it is time to add name and display name on account. When you log into your dashboard, you will see your display name.
Step: 6 Enter Business Details
Next step to open Flipkart seller account is to enter your Business name and address.

Step 7: Upload Business Address Proof
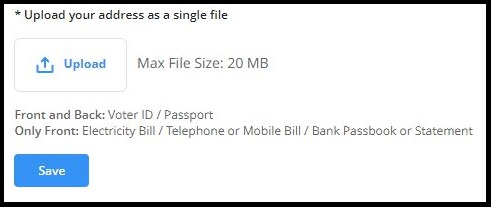
Further step to register on Flipkart seller account after entering Address details is to upload address proof. Address poof you uploaded must resemble the address you entered.
Step :7 Enter Your Signatures
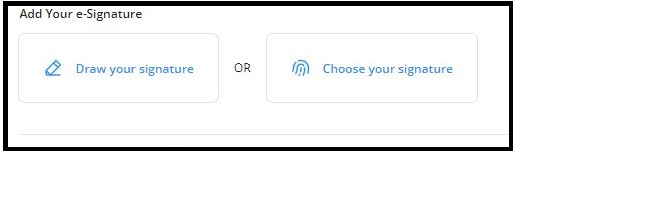 Next step to create Flipkart seller account is to add your signature. You can either draw your signature or can choose your signature. It has the facility to make it on hand. you can create your digital signature here or upload.
Step: 8 Enter Pickup details
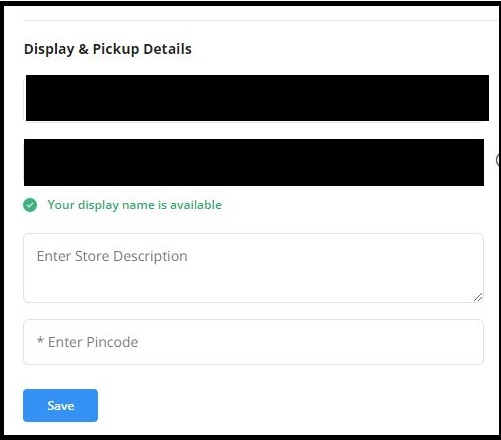
After adding your signature , the next step to register on Flipkart seller account is to enter pickup details.
Enter your store description and pin code where your store is located. This address will be used to pick up your products, so it should be error-free. If there’s any mistake in it then it will hamper your logistic activities.
Step : 8 Start Listing your product
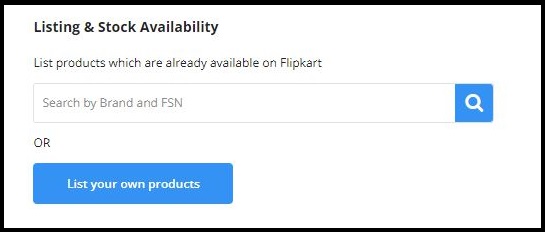
Click on list your Product and a new page will open up.
Now you have 3 ways to Add Your Products:
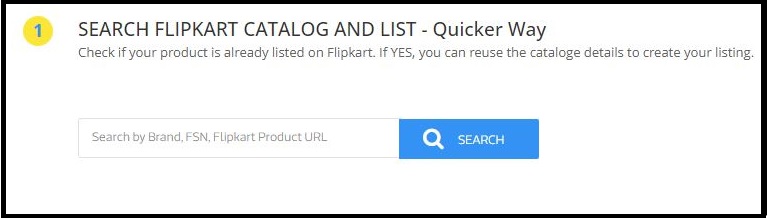
1. List Product by searching
In Flipkart’s catalog, you can find various products and product categories. To open Flipkart seller account you have to search your product name in the search bar and look for your product’ catalog and start listing in it.
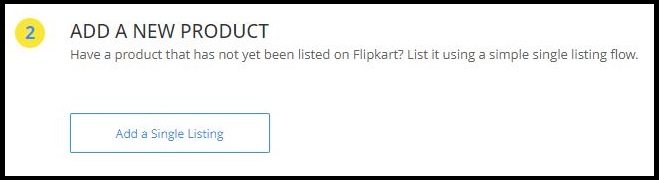
2. Single Listing Method
To create Flipkart seller account, create a listing by adding your products one by one. This listing is used if your product isn’t listed anywhere else on Flipkart. You have to add Product name , category , description , images etc. for all your products.
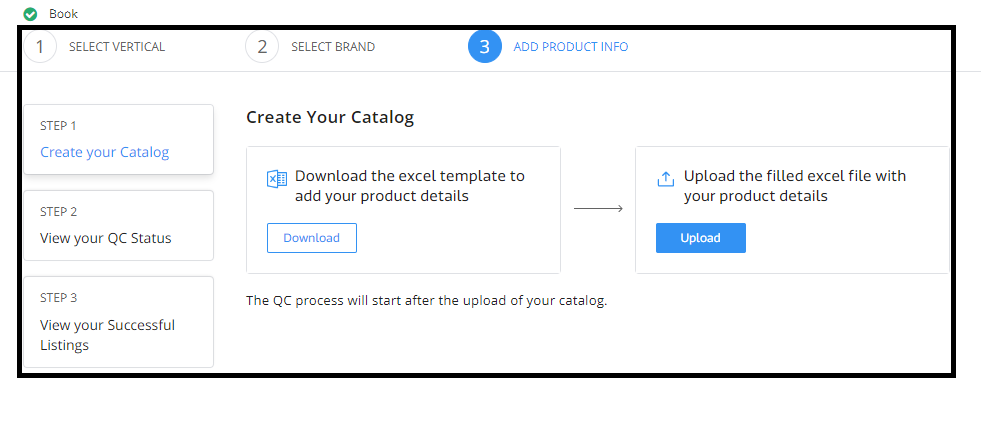
3. Bulk Listing Method
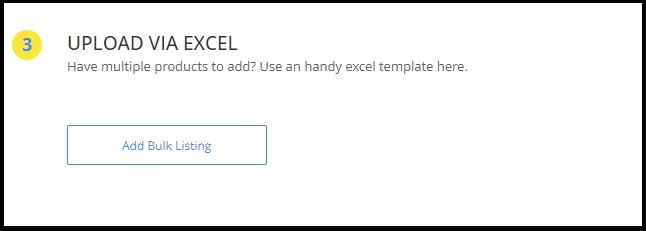
If You have multiple products then this method will help you out. You have to upload your product details via excel. You have to enter your product category and it will give an excel format of listing. Download the excel file and fill all the details in it and then upload it on the same dashboard from where you have downloaded the file.
 Step: 9 Add Bank Details
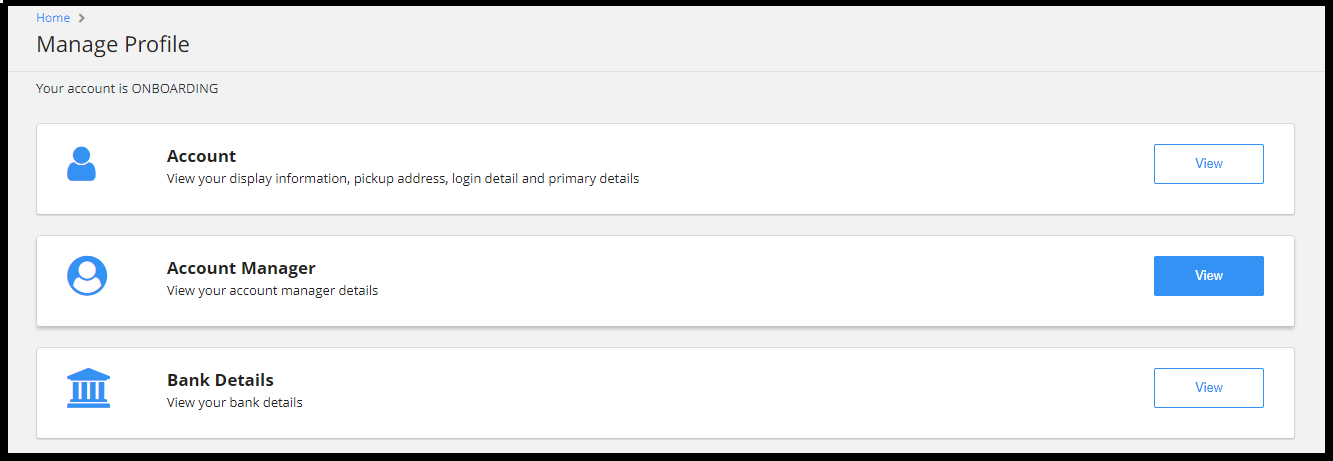
On the top right corner you will see your display name click on that. When you click on that, it come up with two options i.e. Manage profile or logout. Click on manage profile. The page will open with a list of different sections. Click on the bank details section.
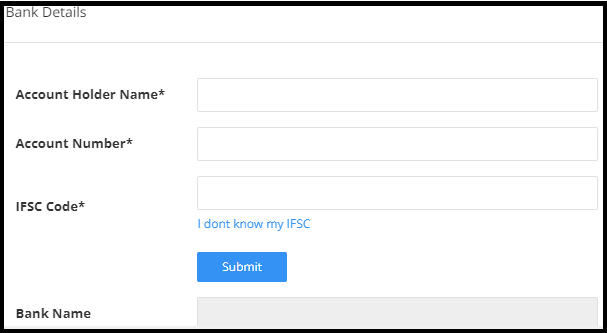
Add Your bank account details in it like name ,account no. and IFSC code, of the bank account which you want to use receive payments against your orders.
There are various sections which you can modify from time to time according to your need and grow your business online.
Conclusion
Henceforth, ecommerce market is growing day by day . There have been a vast change in business techniques now. Every businessman whether a small scale or a large scale is running towards online business. Flipkart is the second most popular ecommerce platform . Many Businessmen are actively engaging with Flipkart. They started their online business by restring on Flipkart seller account. If you also own a business and want to sell online then register on Flipkart account.
If you want to run your business on Amazon then read how to create seller Amazon Seller account.