How to Create Amazon Seller Account?- A Complete Guide
Amazon is the world’s largest seller platform. It has 6.3 million sellers in total. Every day, 3700 new sellers join. It holds shoppers attention. It offers a large number of products and services inclusive of retailer goods , delivery advertising etc. Many businessmen are now moving towards digital and eagerly starts to create Amazon seller account.
Amazon shuts down the offline marketplace. Amazon made everything available. The multinational e-commerce company has received numerous awards for its growth, sales, and seller success. Because of the growing pace of Amazon many small scale businessmen also create Amazon seller account.
If You own a business and want to open Amazon seller account then you must go through this article. It gives detailed information about how to create Amazon seller accounts. You can choose our Amazon store front creation services also to run your online business smoothly.
Types of Amazon Seller Accounts
1. Individual seller program : This program is designed for small-scale business owners with a limited number of products. There is no need to pay a subscription fee. It only takes money from you when you deliver a product. Individual seller accounts do not grant access to listing management or inventory management. You must choose from the available options. Amazon specified restricted categories or product advertising is not permitted in this account.
2. Professional seller Account: You can create Amazon Seller Account whether you are a medium or large-scale business owner. It accepts a non-refundable monthly subscription fee. A professional seller account makes product listing and inventory management easier. It includes tools for managing orders and feeding reports. Professional account sellers may also sell in restricted categories.
Documents Required To Create Amazon Seller Account
Millions of People have successfully open Amazon seller account and earning profit. If you also want sell on Amazon Then you must have following documents :
1. Contact Details: Whenever you create Amazon seller account, you will be asked for your phone number and email address. Once verified, these details (contact number and email address) will help you connect with your customers and keep track of your daily order notifications.
2. Permanent Account Number (PAN): The PAN is a document required by the Indian Revenue Service for all individuals and business owners. The unique 10-digit number is used to track your TAX deductions and, in some cases, as identification.
Your personal PAN Card/number is distinct from your business PAN number. If you work for yourself and own a business, you will have two PAN numbers, one for yourself and one for your company. To create Amazon seller account you must have a PAN number.
3. GST Number: GST is the most recent indirect taxation system that was implemented in June 2017, all forms of indirect taxation are now grouped under one umbrella, GST (Goods and Service Tax). GST is required to open Amazon seller account. Without GST you cannot sell online.
4. Bank Details : To create Amazon seller account you must have a Bank account. The advantage of having an online business is that you can also earn money online. Your earnings from sales are deposited directly into your bank account. To enable this, you must provide your complete bank account information, including the IFSC code and other pertinent information. The above-mentioned documents are required to open an Amazon seller account. Without these documents you are not able to become an Amazon seller.
Steps To Create Amazon Seller Account
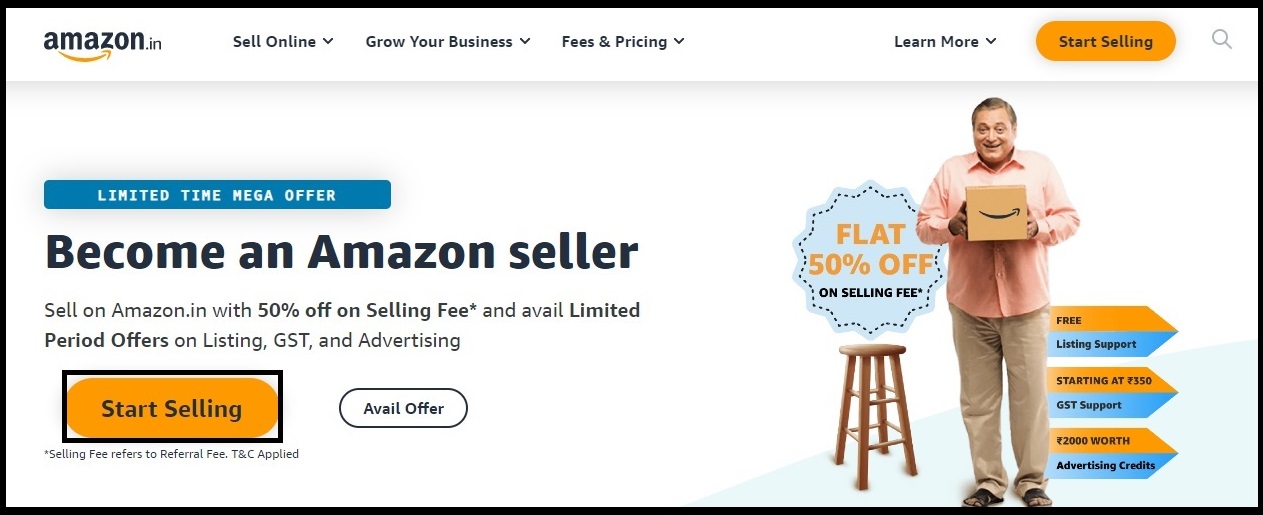
Step-1: Search For Amazon Seller Central Or Go To https://sell.amazon.in

Step-2: Click On Start Selling
Step-3: Click create your Amazon Account

Fill all the mandatory details and then click on continue.
Step-4: Verify Your Account
Amazon will send you a One-Time Password to verify your Amazon seller account whether the entered mobile number belongs to you or not. Enter OTP which you will receive on your registered mobile number.

Step-5: Enter Your Business Name
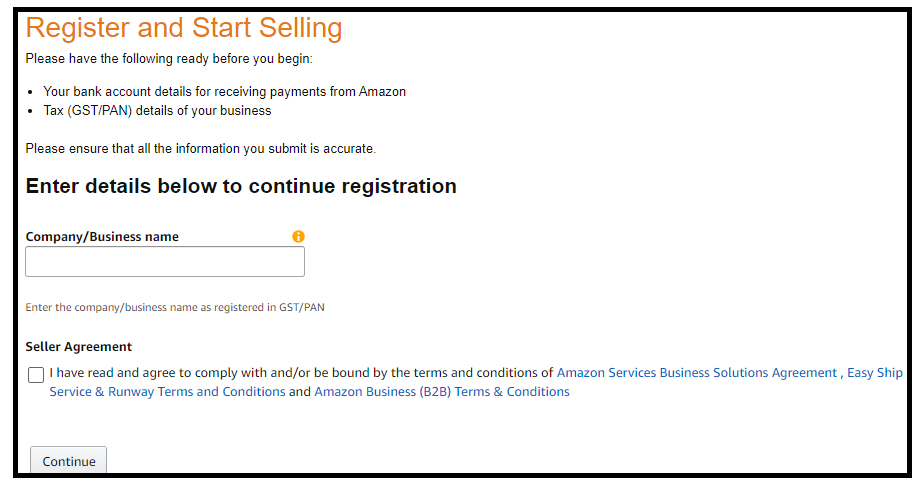
Next step to create Amazon seller account is to enter your business name in the allocated column and accept the agreement. After performing these steps, click on continue.
Step-6: Tell Us About Your Business
After entering the business name further steps to create Amazon seller account is that you have entered your business details.
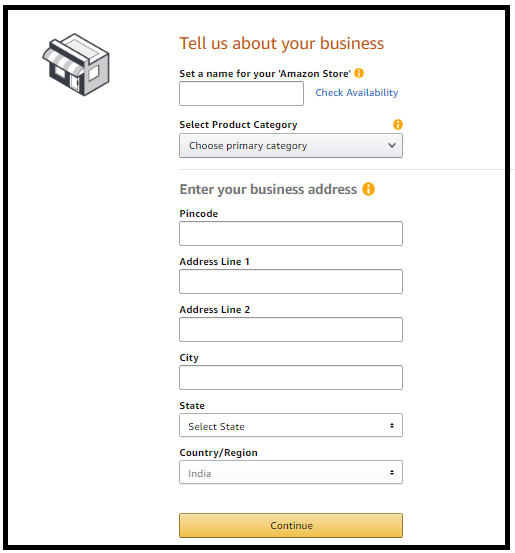
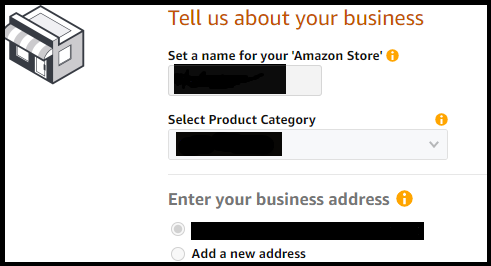
Fill in all the details one by one. While entering the store name click on check availability to ensure whether the entered store name is available or not.
After filling the store name column , select your product category and enter the business address. Then Click on Continue
Step-7: Enter Shipment Method
Now it’s time to take the next steps to create Amazon seller account . Enter the shipment method for your Amazon seller account.

There are 3 methods of shipment of your orders.
1. Fulfillment by Amazon(FBA) : In FBA shipment you have to store your product in the nearest Amazon warehouse. They handle all the shipment related formalities. It charges a fee according to the size and weight of your product.
2. Amazon Easy Ship: In this type of shipment you have to store and pack your products at your location. Amazon will itself pick up the order from the previously added address.
3. Self Ship: It called FBM( Fulfillment By Merchant) also. In this shipment you have to pack and store your order at your location. Also you have to deliver it by your own or by third party courier services.
If you are a Large scale businessman and you have a shortage of time then you can opt for FBA shipment.
Small Scale businessmen who have storage areas for products then they can go with the self-ship method.
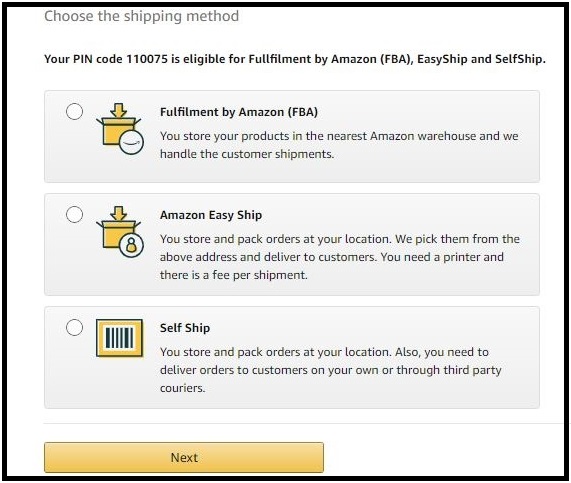
Click on one of three shipment methods which is suitable for your Amazon business and click continue.
Step-8: Enable Two Step Verification
After deciding on a shipping method, the next step to create Amazon seller account is two-step verification. Enable verification by clicking the checkbox. Submit the phone number you provided when you start create Amazon seller account.

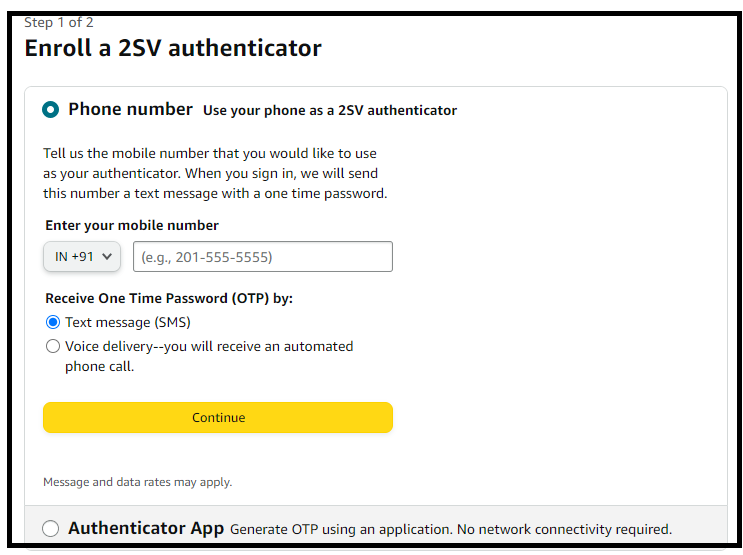
Enter Your mobile number and you will receive an OTP from Amazon. Enter OTP and Click continue.
Step-9: Update Your Tax details
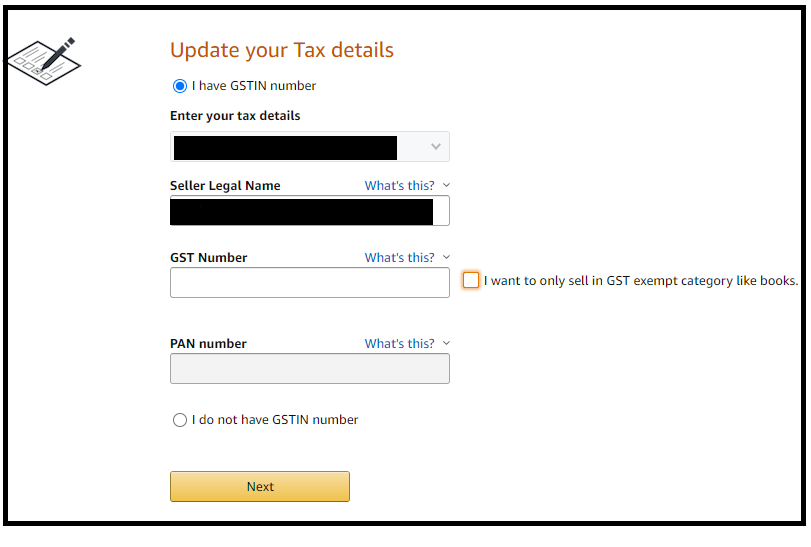
Enter your tax details like GST , PAN etc. GST is not applicable to the sale of book, newspaper, drawing colors for kids, bangles, food items etc. In such a case You have to check the box written with I want to only sell in the GST exempt category.
To avoid future felony issues, it’s far advocated which you input your GST number every time you create Amazon seller account. It is also necessary whenever you add your products. Unless it has a product id or appears on Amazon, your product must have a GST number. Without it you cannot enter your products. Enter Your Preference and click Next.
Step 10: Launch Your Amazon Business

Listing your products on Amazon is the next step to create Amazon seller account. You can choose between a single listing and a bulk listing.
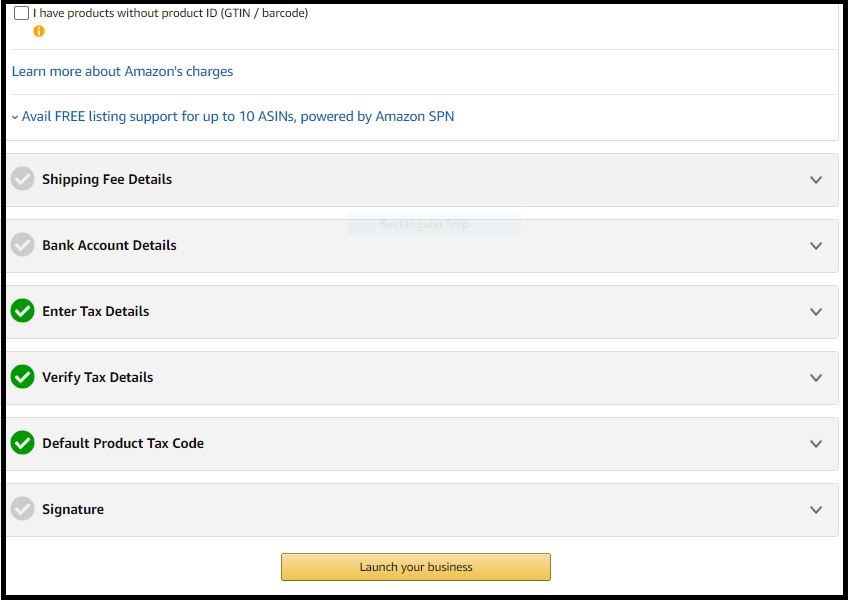
Add Your signature and click to Launch Your Ecommerce Business.
Congratulations!!!! you have create Amazon seller account successfully.
Conclusion
I have provided all the necessary details to create Amazon seller account. If you follow all these steps you can easily create Amazon seller account. Pinnacle seller services is here to help you if you face any trouble creating an account. We the best ecommerce service provider in Delhi. We provide ecommerce account management services for your online business.
I you want sell your products outside India and not aware about how to sell globally then read our blog How to sell On Amazon Globally